¶ Pathfinder
Pathfinder is a third-party wormhole mapping tool. It facilitates the real time tracking of wormhole connections as the player jumps through wormholes, by drawing a visual map/chain. It can also maintain a list of the wormholes and signatures that the players have scanned and added to a system, allowing easy movement and a better sense of the available content, within wormhole space.
¶ Setting up
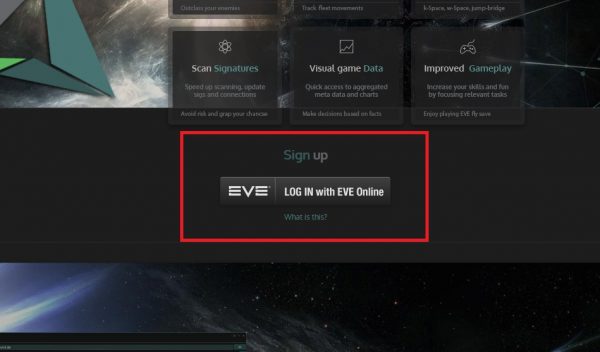
Setting up Pathfinder is extremely simple. All you need to do is navigate to https://pathfinder.silentcoalition.com and log in with the character that you are going to use for mapping (exploration).

The character you log in must be in SICO corporations as the mapper only allows our coalition members to use it.
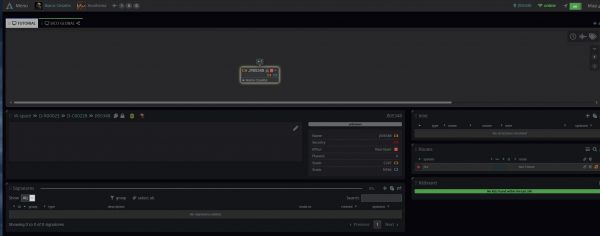
Right after you have logged in you will be able to see the different maps such as WH HQ, PI Land and SICO GLOBAL that will be used for all mappings. These maps are shared with all the SiCO corporations and all members in the coalition can take advantage of it.
You should always use the correct map that corresponds to your current location. If you are scanning in our PI Wormhole system (J133653) you should use the map that says 'J133653'. This is important in order to avoid clustering up maps with all different wormholes.
For non-default locations, you can either use the SICO global map that is shared with all coalition members, or create a new one for your own corporation (not detailed here).
¶ Using Pathfinder
The core functions in Pathfinder are very easy to use. If you want to have a look at the manual for all of the functions/icons/etc., you may open the integrated manual by pressing the map button on the top right corner.
¶ Adding signatures
If no wormholes or signatures have been scanned out, your map will only show the HQ locations that we have pinned down in the map. If you are scanning from inside out you will see yourself in one of these locations.
The green marker tells you the number of other active mappers that have recently joined/entered the system. Your name is displayed in the active system.

Click on your active system to select it and to make it active. You now have more options visible for the selected system.

To add all signatures from your current system to pathfinder simply:
- Open your probe launcher
- Select all signatures by pressing Ctrl + A
- Copy all signatures with Ctrl + C
- Paste the clipboard to the pathfinder page by clicking anywhere on the site and pressing Ctrl + V
See the gif: Copying signatures from game to pathfinder
¶ Scanning signatures
Next, you want to start scanning down the signatures one by one. While scanning, you can repeat the previous step for signatures that you have partially scanned (at least 25%), but do not intend to scan down completely (e.g. data sites you do not intend to run). This way other players using Pathfinder will know what the signature is.
See the gif: Scanning signatures
If you have completely scanned down a signature you can add all the information about it, by again just copy pasting it on pathfinder. This is very useful when scanning down data, relic and gas sites. For wormholes you won’t get much information from the probe window.
See the gif: Copying scanned signatures
After you have scanned down a wormhole, in order to correctly bookmark and add it into Pathfinder, you need to warp next to it (NEVER bookmark a wormhole from the probe scanner window, because it will land you outside jump range). Now we will add the missing information to the corresponding Pathfinder signature we just scanned. In this case the signature with the id that starts with “NUR”.
Open the description window for the wormhole you just scanned down/warped to. The important things we are looking at are: the wormhole type (in this case C247), its lifetime and the mass left. Click on the wormhole signature on Pathfinder and fill in or select the information to match the ingame window.
See the gif: Adding wormhole information
As we have not yet went through the wormhole, we can’t know where it leads to, so this will be left blank for now. However, we now know the system class to which the wormhole will lead, so we can bookmark it as NUR -> C3. For K162 wormholes that lead to other j-space systems, you will only know that it leads to a C1/2/3 (unknown), C4/5(dangerous), C6 (deadly).
Keep scanning until you have scanned down and marked all sites on Pathfinder. After this we will jump through the wormholes and start forming the chain.
¶ Wormhole chains and new wormholes
When you jump through a wormhole, Pathfinder will automatically add the connection to the chain, but only if you have tracking enabled (which you should if you didn’t change your settings). If Pathfinder can’t determine the correct connection, it will ask you to fix it.
See the gif: Automatic tracking
Now that we are in a new wormhole, we will just repeat what we did earlier. Click on your current system to make it active and paste all signatures in it.
See gif: Signatures in new hole
What we want to do first is to determine which signature ID represents the wormhole through which we came from. In this case which one leads back to J105348. Do a fast scan on top of yourself and you will get the closest signature. Now select this signature on Pathfinder and add the information required as shown in the video bellow. Any system currently connected to your "active" system will now be visible in the “leads to” drop down menu so they are easy to add and pair to the correct signature.
See gif: Change Pathfinder wormholes class
Keep on scanning down all of the signatures and copy pasting them in Pathfinder. Don’t forget to bookmark the hole you came from! Once you enter the next wormholes, Pathfinder will keep on drawing the map for you.
When you reach you reach your destination you are all set! Most often you are looking for exits to known space. When you click on the known space system you found, you will get basic information about it, including amount of jumps to predetermined systems like Jita and coalition HQ systems.

You have now found and created your first wormhole chain from our HQ to a known space system!
¶ Deleting signatures
Signatures will vanish over time. Pathfinder will also remove them once their maximum lifetime has been reached, which is calculated from the moment the signatures are actually added. But this may very well not reflect the actual status of the signature/connection within the game. Such as, in the event of a wormhole being rolled/collapsed, if the scanned sites were added to Pathfinder late in their ingame lifetime or if you/someone else cleared the combat anomalies/sites, they may be gone before the program deletes them.
To delete vanished signatures simply copy and paste all signatures to the program and use the “lazy delete signatures” option. It is not recommended to activate this option on the dashboard. Instead use the signature reader and activate the option in here. This way you do not delete signatures by mistake if you filter them out.
See the gif: Deleting signatures
If you only have a few signatures to delete the easiest way is to press the deletebutton next to the signature.
See the gif: Delete single signatures